A WOOD FINISHING PHILOSOPHY
To preserve fine craftsmanship for generations to come, it's necessary to view finishing not as a quick final step, but a methodical process that's unique to the maker. Whether its a well polished guitar, a rocking chair, or a simple cutting board, most seasoned woodworkers have developed their own finishing methods from years of practice. Many would agree, a great wood finish should never detract from the natural beauty of wood, but rather preserve it like a piece of fine art. And unlike poly and other synthetics, a great wood finish should also be safe to apply and non-burdensome to maintain. Walrus Oil imparts this philosophy into every product, and we hope this guide helps make finishing an enduring experience, so your work will stand the test of time.WOOD PREPARATION
For New Builds1. Ensure Proper Moisture Level of Wood - All hardwoods need to be properly kiln dried or air dried until moisture levels are under 10%. A higher moisture level will cause finishes to take much longer to dry and could cause a "splotchy" finish. Invest in a good moisture reader, which can be purchased at most lumber stores.
2. Prevent Raised Grain with the "Sand-Wet-Sand" Method - To prevent raised grain, use the sand-wet-sand method before applying any finishes. Sand wood surface between 120 - 220, wet surface with water to raise the grain, let it dry, then sand surface again between 220 - 320 to remove the raised grain.
For Restoration Projects
1. Clean Surface - When refinishing or refreshing already finished wood surfaces, clean the surface of any gunk (crayon, dried baby puke, etc). Allow surface to completely dry of water or cleaner before applying a finish.
HOW TO APPLY OUR OIL-BASED FINISHES
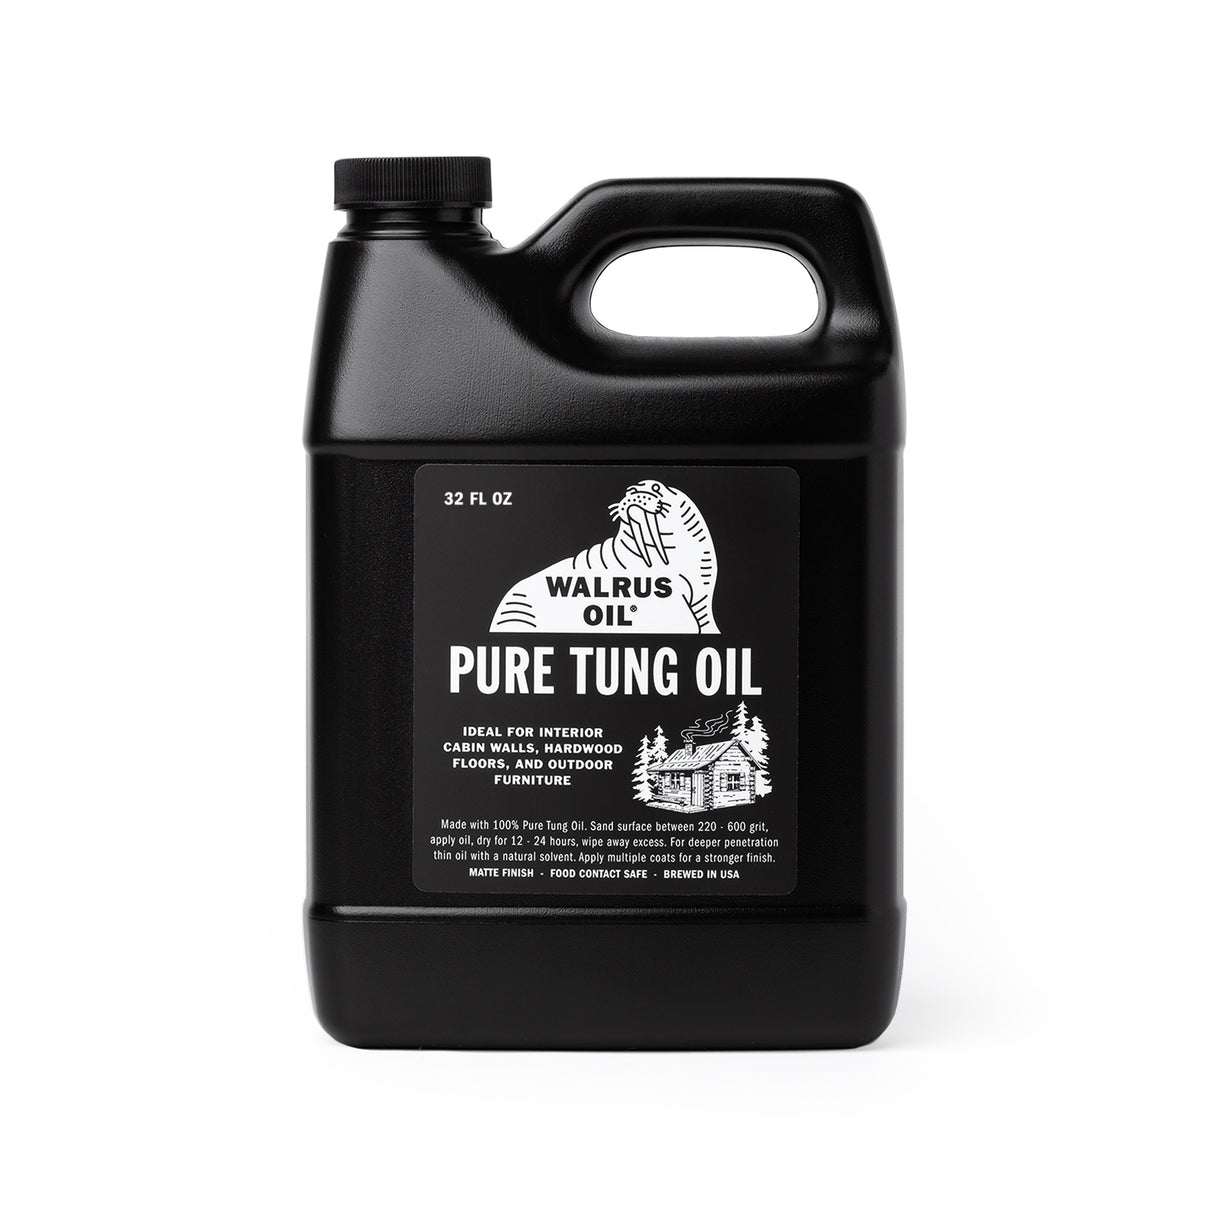
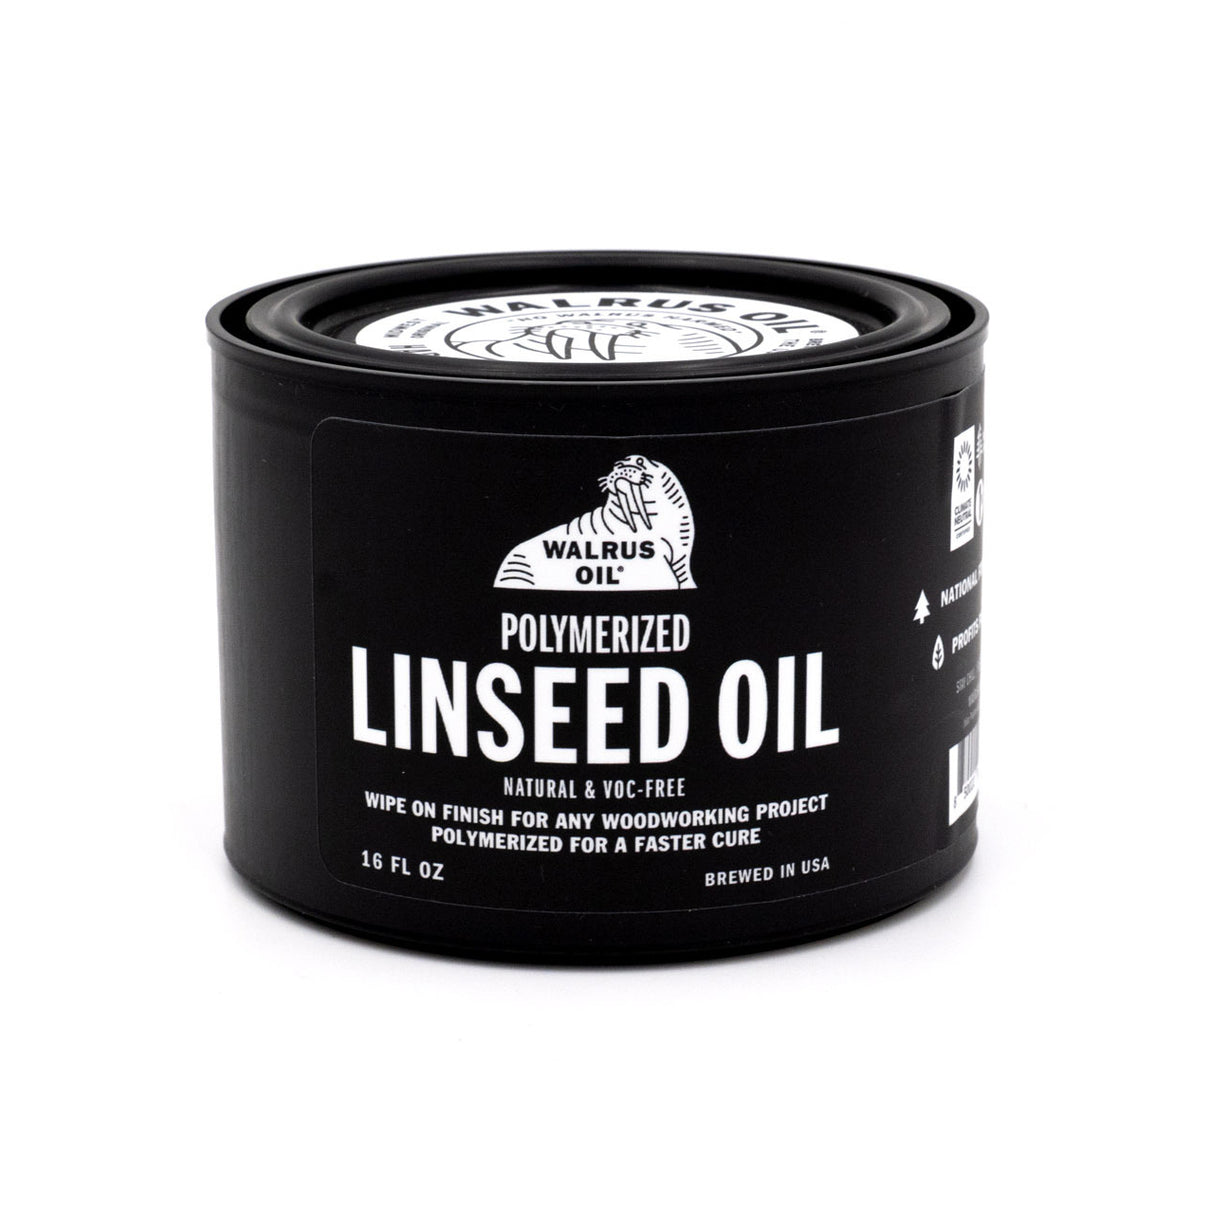
Cutting Board Oil, Furniture Finish, Tung Oil, Coconut Oil, and Linseed Oil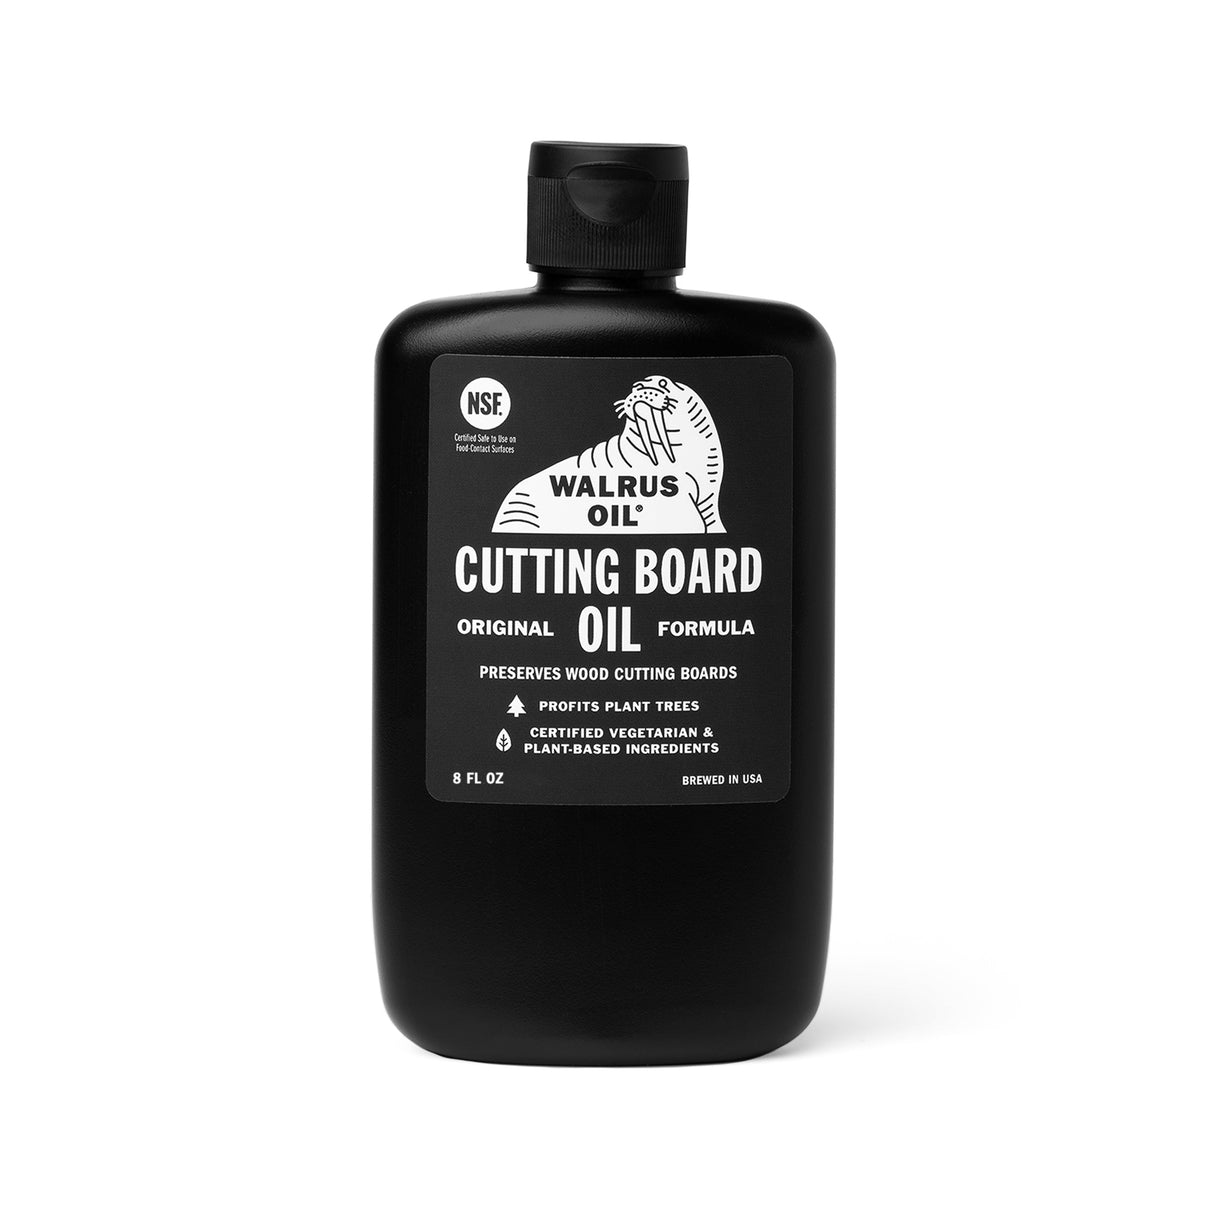
1. Apply First Coat (most important step) - Make sure surface is sanded at 220 - 320. Apply a thin coat of finish by hand with 220 - 320 grit sand paper or a nonwoven sanding pad. You can also use an orbital sander/buffer, however avoid putting your body weight into it so you don't sand the finish out as you're applying it.
Thoroughly and patiently work finish into the wood grains until it's no longer visibly wet and feels smooth. Allow 12 - 24 hours to dry. With the first coat, the longer you give it to cure, the better. After it has had time to cure (usually 1 - 2 days), buff off any remaining residue with a nonabrasive pad until it feels dry.
2. Apply Additional Coats (as needed) - In most cases for projects needing additional coats of finish, you can get by with just a second coat. However for the best finish possible, we recommend up to 3 to 4 coats (for heavily used tables and chairs for example). Use the exact same steps as Step 1, but increase grit size as you build coats (as shown below):
First Coat: 220 - 320 grit
Second Coat: 320 - 400 grit
Third Coat: 400 - 600 grit
Fourth Coat: 600+ grit
3. Prevent Unwanted Results - While oil-based finishes are less likely to have splotchy finish issues, it's important to exercise care to prevent it, as well as avoiding finish dissipation. For best practices, read the prevention steps below toward the bottom of the page.
HOW TO APPLY OUR WAX-BASED FINISHES
Furniture Butter, Furniture Wax, and Cutting Board Wax
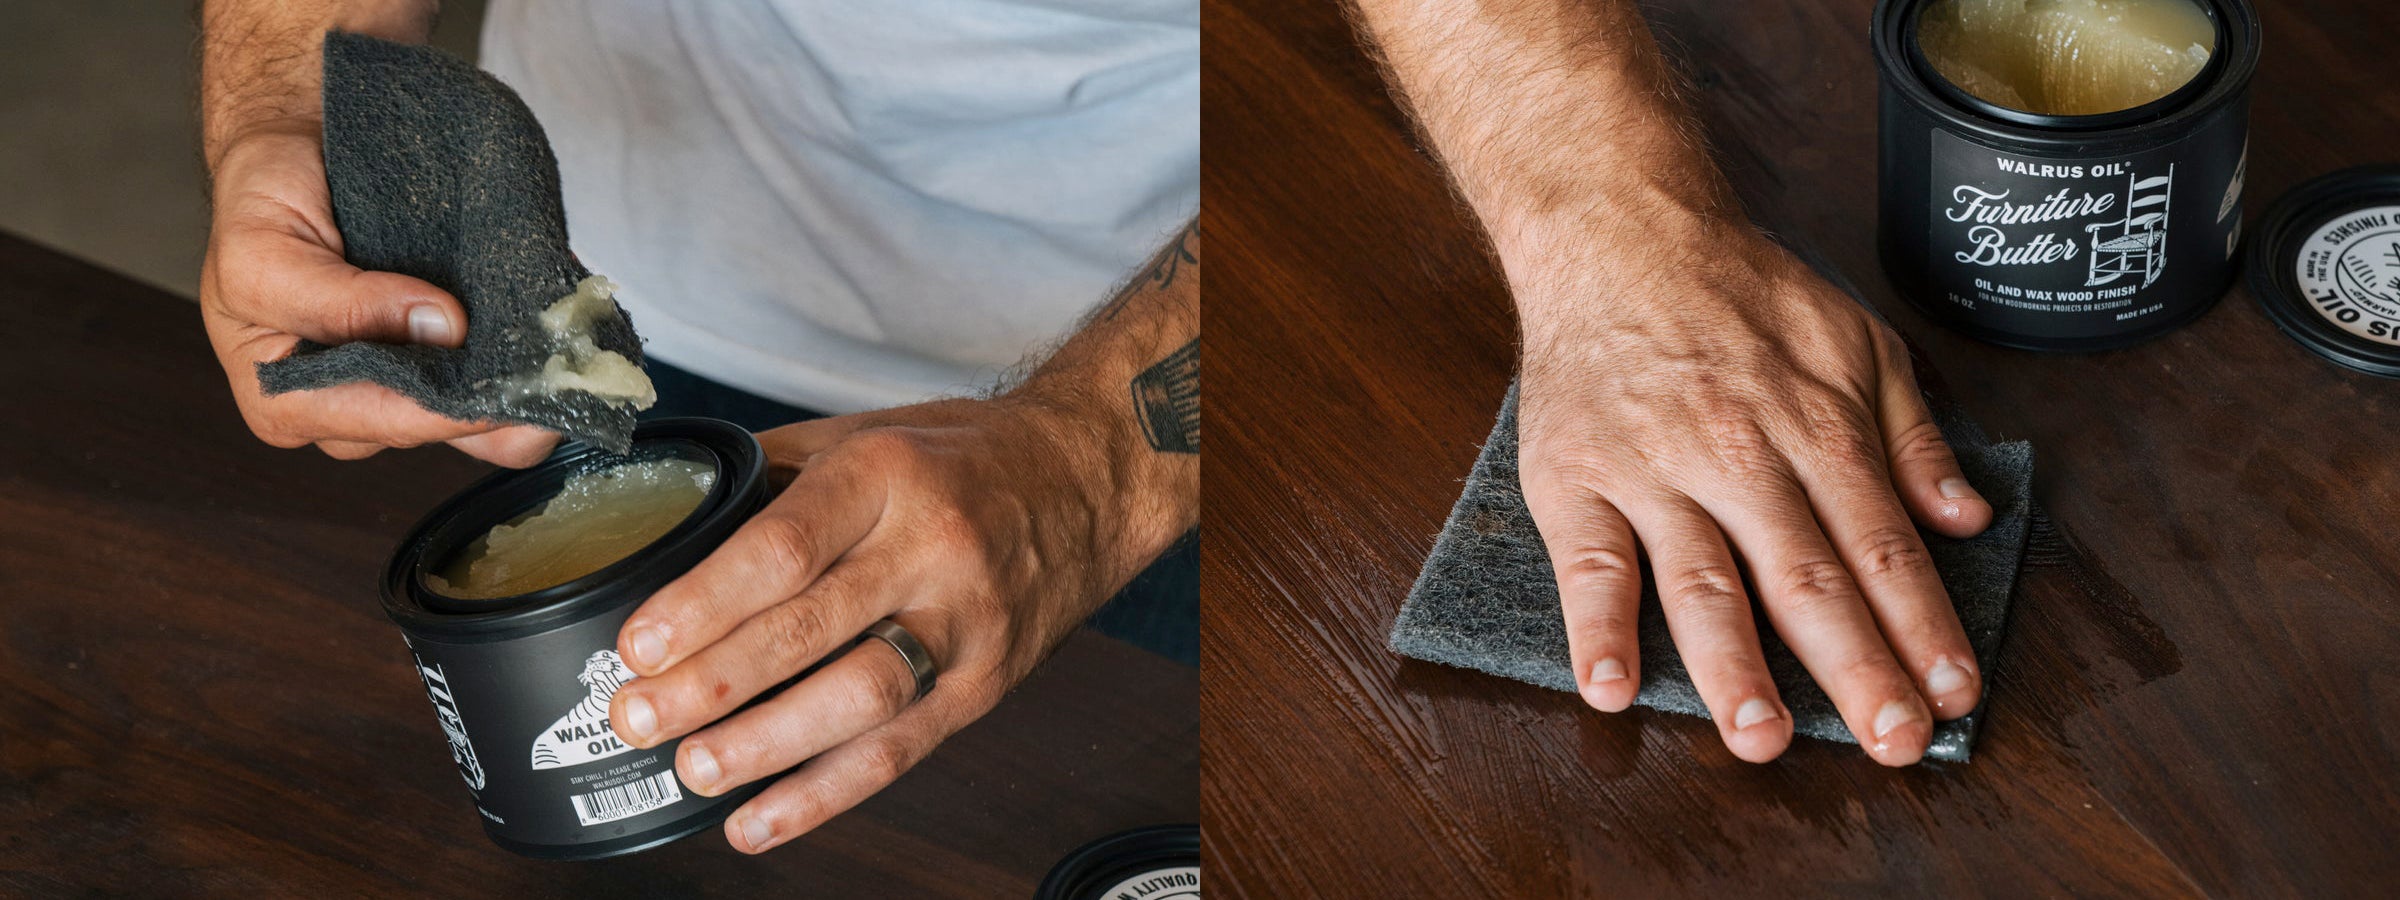
1. Applying Waxes - Whether you're applying our waxes as a final coat of finish for a new build or polishing an already finished piece of furniture that needs a refresher, the steps are much the same. For new builds always apply oil finishes before wax finishes, since oil will likely not penetrate a waxed surface well. We recommend using a nonabrasive pad whether you're using wax as a finish or polish. This will ensure you don't sand out any oil finishes in the wood. Simply apply a conservative amount of wax to the entire wood surface. For Wood Wax for Cutting Boards, allow 15 - 30 minutes to set before polishing off residue. For Furniture Wax allow 1 hr and for Furniture Butter allow 12 - 24 hrs to set. When using Furniture Butter or Furniture Wax, for best results give the waxed surface four weeks to fully cure before allowing heavy water contact. If you're polishing a piece of furniture that only needs partial refreshing, the Furniture Wax is great for "spot polishing", however if it looks uneven, you can apply it to the entire surface to ensure an even looking finish, be sure to buff off excess wax. And for older furniture that has been previously finished with unknown products, we recommend testing in a small area to make sure you like the results before applying to the entire surface.
2. Prevent Unwanted Results - Due to the reduced absorption of wax-based finishes compared to oil-based, it's important to exercise care to especially avoid splotchy finish, while also protecting from finish dissipation. Read the prevention steps below for best practices.
PREVENT SPLOTCHY FINISH

Splotchy Finish - occurs when a wood surface finish has visibly uneven areas during or after curing, due to anomalies preventing even surface curing or polymerization. There are five primary causes of splotchy finish listed below, with each bullet we explain how to avoid and fix them:
-
Excess Finish - when there's too much finish, and the surface lacks uniformity in its polish, excess areas will polymerize, resulting in an uneven appearance. This is the most common cause of splotchy finish and is more prone to happen with wax-based products. It can look like white spots or raised areas, but it's actually excess finish that's hardened on the surface. To prevent or fix this, gently brush the entire surface with an 800 grit nonwoven pad until the finish appears even. Then, use a non-abrasive pad to buff away any remaining wax particles. Repeat steps until surface appears even consistently for a week. Removing excess finish will also minimize the risk of water rings and white spots in the future.
-
Improper Surface Prep - sanding too low or too high can be problematic for the first coat of finish. For the initial coat, we suggest applying it to a surface sanded at 220 to 320 grit. Applying the first coat to a surface sanded too low results in excessive absorption, requiring more finish for an even look. Conversely, if applied to a surface sanded too high, the finish sits on top, leaving the wood uneven and insufficiently protected. Additionally, always make sure the surface is clear of glue, timber paint, and other foreign residues.
-
Incompatible Finishes - applying separate coats of finishes that are not compatible, such as an initial coat of oil-based finish and then a second coat of water-based stain. We strongly advice against using oil-based finishes with water-based finishes. Nonetheless, this type of situation can be prevented by using a test board before applying the various finishes to an entire project. If the test board feels sticky or looks uneven, the finishes are likely incompatible.
-
High Solvent Concentration - adding an excessive amount of solvent to a finish can cause certain areas to evaporate more than others, leading to an uneven finish. Prevent this by either abstaining from solvents entirely or incorporating no more than 25% solvent when mixing with a finish.
- High Wood Moisture - excessive moisture in wood can prevent the finish from polymerizing evenly or prevent polymerization entirely. Before starting a project, make sure the wood has been properly kiln dried or air dried and has an average moisture reading of 10% or less.
PREVENT FINISH FADE

Finish Fade - occurs when a wood surface finish hasn't fully polymerized, resulting in faded or evaporated areas after contact with physical objects or direct sunlight. In other words, uncured finishes may transfer to objects and direct sunlight can cause finishes to degrade. To best prevent finish fade, aside from polishing the surface occasionally to remove excess finish while curing, allow finishes to fully cure for four weeks before exposing to objects, water, or direct sunlight.
PRO TIPS RECAP
1. Prep your wood properly and always start with the "Sand-Wet-Sand" method to prevent raised grain.
2. Always apply oil-based finishes before wax finishes.
3. When using oil-based finishes for new builds, for best results apply at least two coats.
4. Apply finishes to sanded surfaces between 220 - 800 grit. Start at 220 and increase grit as you build coats.
5. The higher you sand at, the smoother the surface will feel and the shinier it will look (though our finishes range from matte to semi-gloss).
6. Wax finishes should usually be applied with nonabrasive pads to avoid sanding out base coats of finish.
7. When building coats of finish, it's best to do this with our oil-based finishes only. Unless you are very experienced and have proper polishing equipment, avoid trying to build multiple coats of wax finishes as it can lead to a splotchy finish.
8. Allow proper cure time between coats and after the final coat before heavy use and water contact. Generally 12 - 24 hours between coats. For new unfinished cutting boards and wooden utensils, allow 1 - 2 days after final coat to cure. For unfinished furniture, allow 2 - 4 weeks after final coat for the finish to properly polymerize to the wood surface.
